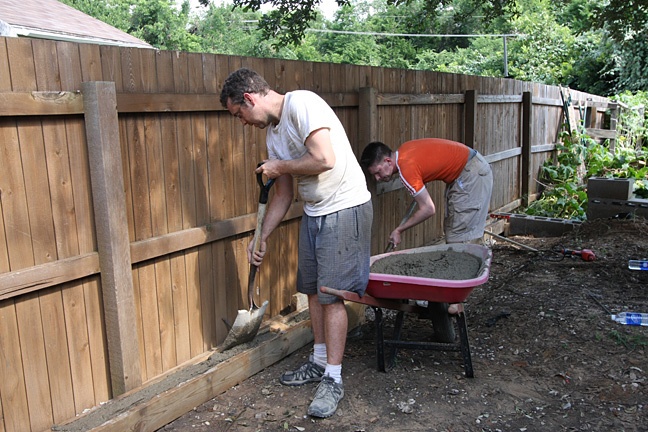
The sub-base for the flagstone is going to be 6″ of compacted “flex-base.” Flex-base is recycled pavement from roads that have been torn up or resurfaced, so it’s a very green product, considering you’re saving it from going into a landfill. More on flex-base later when it actually arrives, but before it does, we need a way to retain 6″ of it throughout the backyard without it spilling into the fence or the neighbor’s yard.
The best solution to this is to pour retaining curbs that hold the gravel in. We had torn up a bunch of 2×6 lumber from the deck, and the curbs need to be 6″ high to retain the gravel…what a coincidence! So the lumber to build the forms was totally free!
These curbs are 4″ wide and 6″ high, they are reinforced with 3/8″ rebar, and every 5 feet or so they sit on top of a “pier” or a pillar of concrete that goes down into the ground to support it. To make the piers, we just dug a pit about a foot deep every 5 feet or so along the line where the curb would run, and drove a piece of rebar into the center of it. That rebar will poke up into the concrete of the curb to help keep it solid and upright for decades.

After a half hour or so, when the concrete sets up nicely, we run a concrete edger (a cheap hand tool) along the edges of the concrete to round them off. This will make sure they aren’t brittle and breakable once the forms are removed. It only takes a few hours for concrete to set up firm enough to remove the forms. The curbs run around the perimeter of the yard, and down the division where the patio will split into a higher and lower level.
I had actually been really worried about pouring the curbs…I somehow thought it would be the hardest part of the renovation. They were surprisingly easy…the building of the forms was the longest part. But still, everything took less than an afternoon.
Done! Now, time for the biggest project of all…
Leave a Reply
You must be logged in to post a comment.